Recording A UIView
FEBRUARY 2, 2020 github contact
While converting a view to a bitmap image on Apple platforms is fairly straight foreward, creating a recording of a view can be surprisingly complicated. In this article, we'll look at some options and explore a technique I used to create custom Live Photo wallpapers in one of my apps. We'll end by looking at the new swift package I created for recording views, FlipBook, and some of its capabilities.
Image Snapshotting
I wouldn't call it easy, but most iOS developers know that there are a number of ways to make image snapshots of a UIView. There has even been an effort by Apple to make this process a little more straightforward with the closure-based UIGraphicsImageRenderer API, which was added when iOS 10.0 came out. Converting any drawing code or view to an image is now just a matter of rendering it in a closure. There are even methods for going straight to image data that can immediately be shared or written to disk.
let view = UIView(frame: CGRect(origin: .zero, size: CGSize(width: 320, height: 500)))
let render = UIGraphicsImageRenderer(size: view.bounds.size)
let image = render.image { (context) in
    view.drawHierarchy(in: view.bounds, afterScreenUpdates: true)
}
There are essentially two methods for generating an image from a view. 1.) UIView's drawHierarchy(in rect: CGRect, afterScreenUpdates afterUpdates: Bool) -> Bool, where rect is the rectangle in which the drawing should occur and afterUpdates is whether the drawing should be done before or after the next runloop tick. Setting afterUpdates to true would allow for changes to the view state to be applied before rendering. 2.) CALayer's render(in ctx: CGContext). From personal experience, I find that drawHierarchy tends to more accurately capture the visual representation of the view, but it comes at the expense of being slower. Where as render is faster but certain attributes of a view may not be rendered properly or rendered at all.
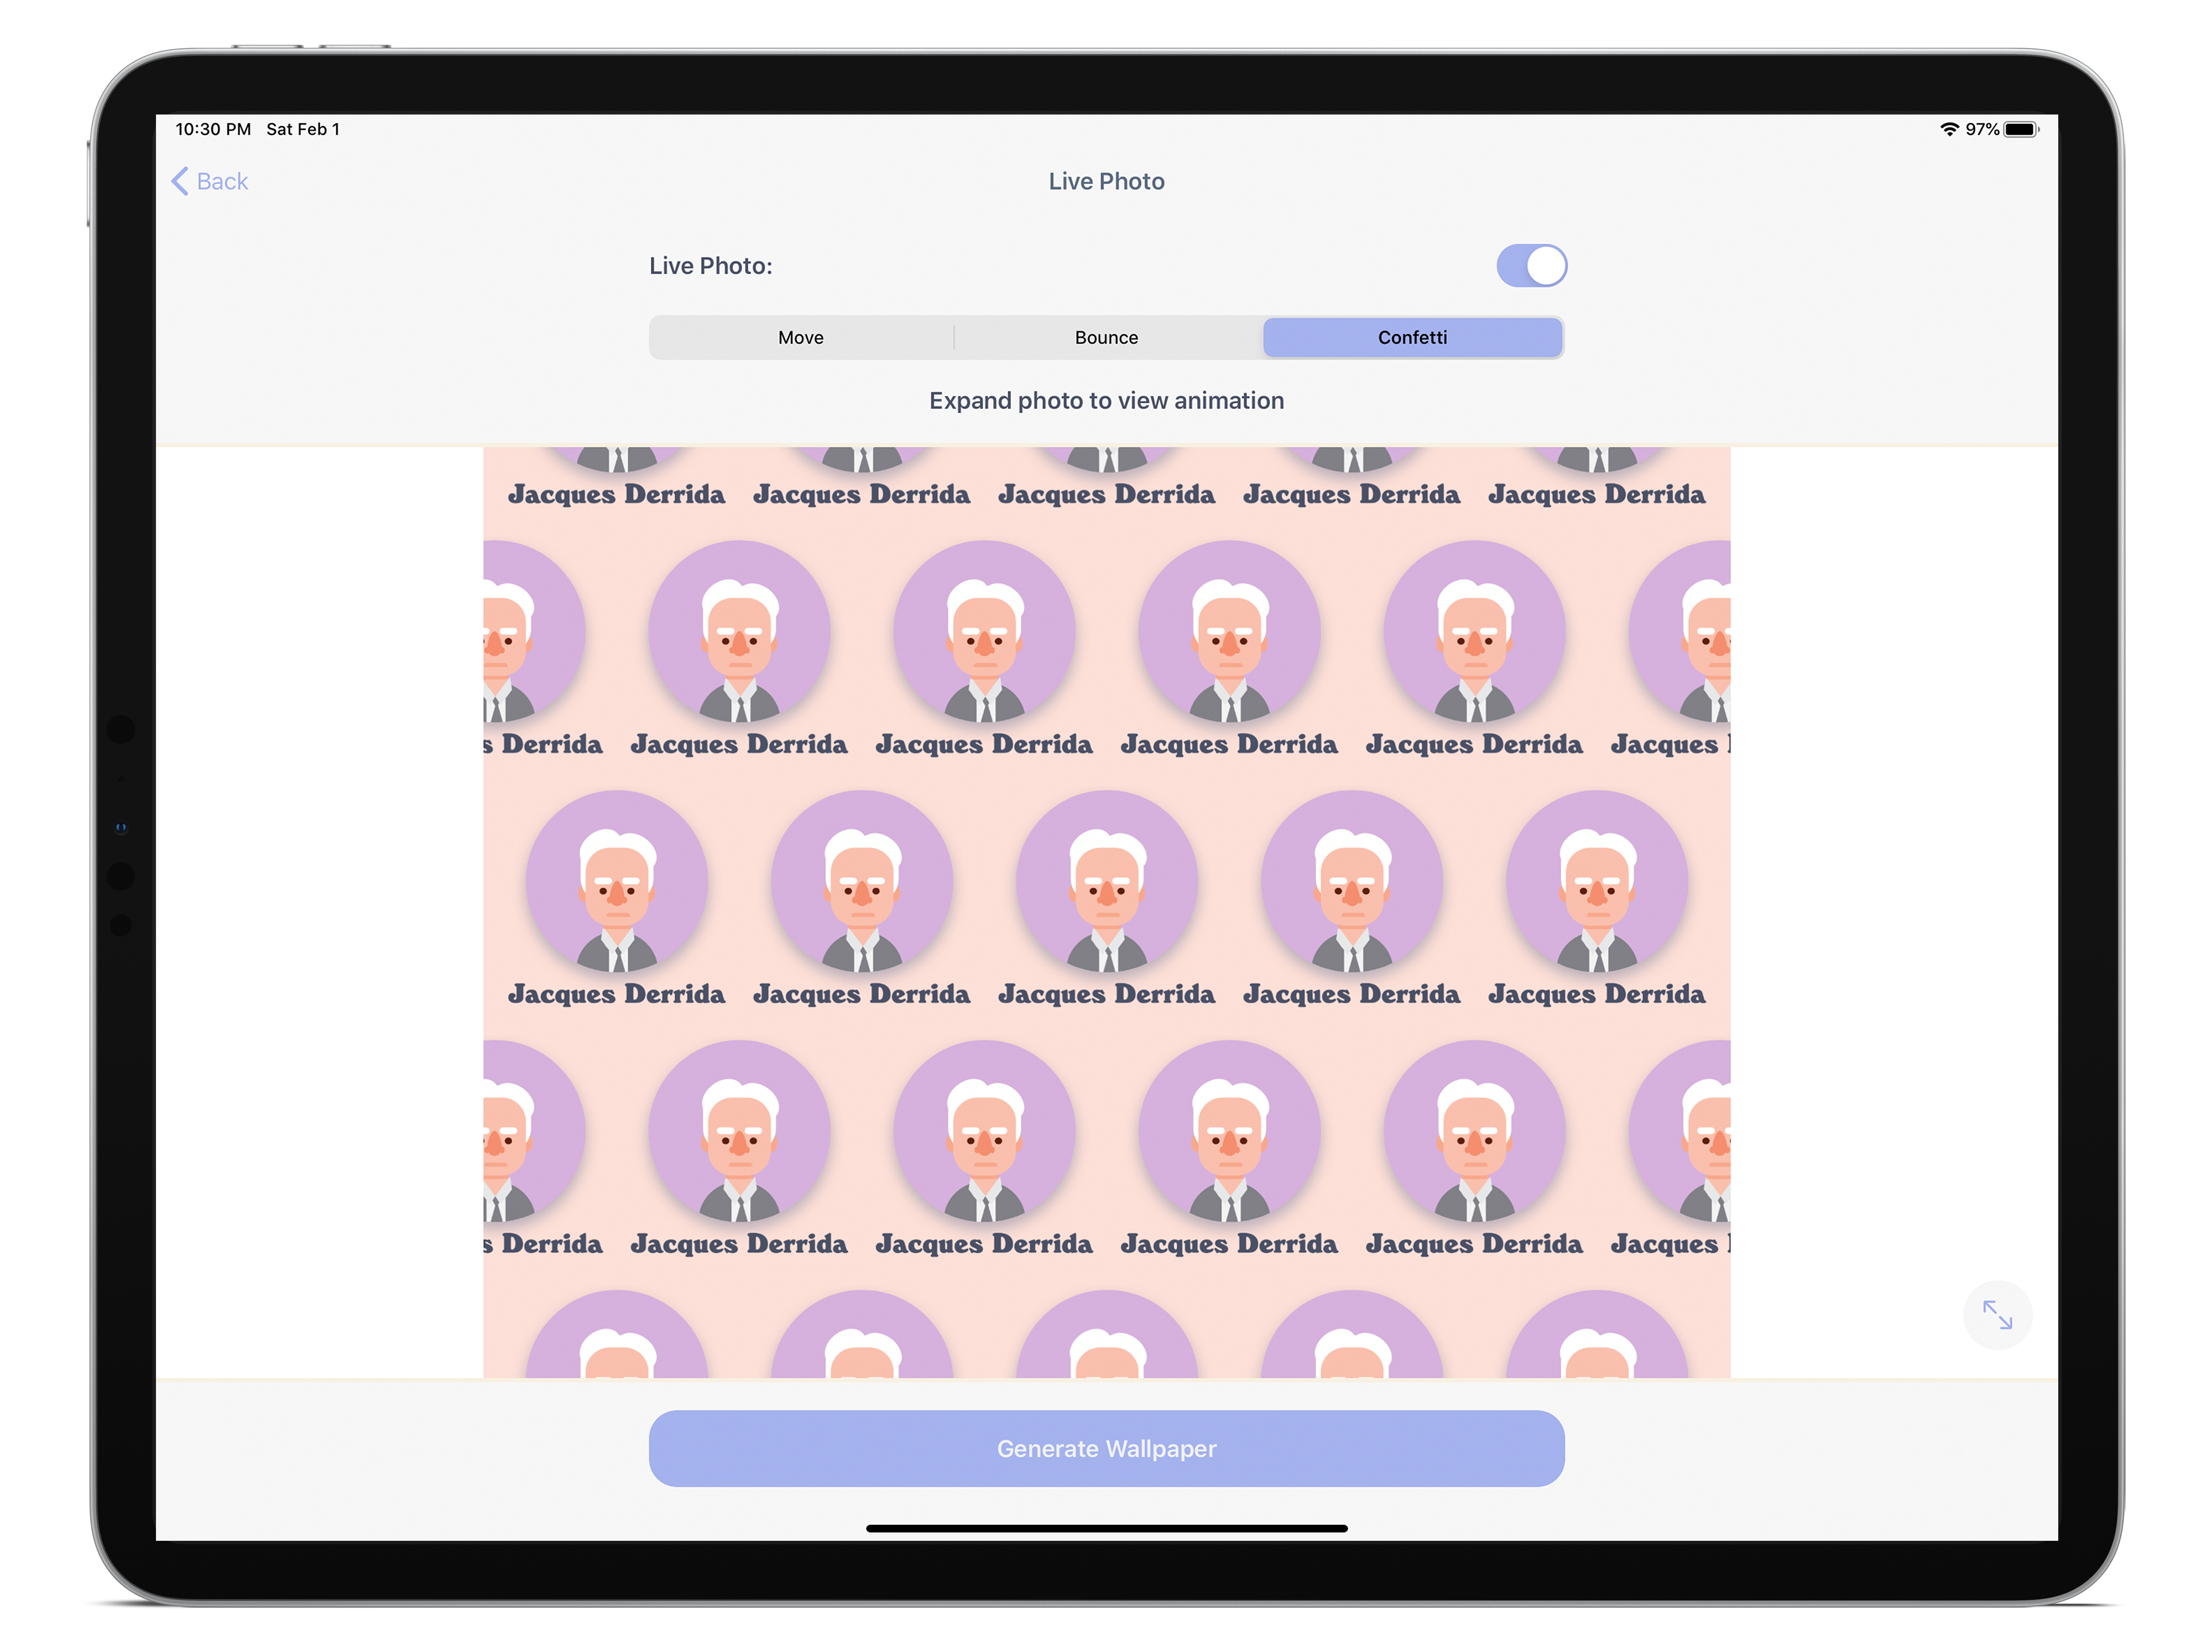
I planned to use this method in one of my apps to create a wallpaper generator feature. In the feature, the user can select from a number of famous philosophers, select an image, apply some text, adjust the size/repeatition of the image, and finally produce the wallpaper and save it to their photo library. As I thought about this more, I realized that many devices now support having a Live Photo as your lock screen background. I thought it might be nice, in addition to having the still image, to have a short animation that plays when the user long-presses/3D-presses the screen. But how does one record a view?
ReplayKit
My first thought was to use Apple's ReplayKit framework. ReplayKit, according to Apple's description, allows users to "record video from the screen, and audio from the app and microphone." It was introduced with the release of iOS 9.0 and it is a high-level framework for capturing a recording of the screen while an app is running. Looking into it more, I found out that ReplayKit, while easy to use, comes with a number of tradeoffs.
To start with, ReplayKit was designed with privacy in mind, which is by and large a good thing, but complicates using it for the kind of asset generation I want to do. In the beginning, with ReplayKit 1.0, iOS applications couldn't access the actual screen recording, instead the app would request to record the screen then when recording was finished system UI was brought on screen for the user to edit and share the video. However, the application never had access to the video and thus the developer couldn't do something like say package the video up into a Live Photo for a custom wallpaper. This changed with ReplayKit 2.0, released with iOS 11.0, where developers were given API that would vend video and audio sample buffers that developers could then compose into a video. Making it possible to record the screen then compose a video and finally bundle it into a Live Photo.
But, ReplayKit asks the user in each app session whether they are willing to allow the application to begin screen recording. While this is a perfectly reasonable disclosure, it doesn't make sense for my use-case where screen recording is just a means to generating an asset. Rather the default use-case ReplayKit has in mind is recording a user sesssion and potentially streaming it to other users; (You can think of YouTubers or gamers on Twitch as the end-users for this use-case) a long-running task that needs to be highly optimized and could potentially infringe on user privacy.
Another limitation is ReplayKit records the entirety of the app's view hierarchy. There's no way of easily selecting a specific view for capture or hiding unnecessary chrome. Lastly, ReplayKit only works on an actual device and not in the simulator, adding a pain-point when trying to debug and iterate quickly. I was beginning to think that ReplayKit might not offer the best experience and began to look at how screen capture was done before ReplayKit. What I found was two somewhat different techniques for creating a video of a view over time.
View Recording
The first was to use the image snapshotting methods discussed above but triggering them as the result of a timer so that you eventually end up with an array of images that could then be written to a video using AVFoundation's AVAssetWriter. While this didn't seem like the most efficient method, it seemed like it could work for short capture sessions, though instead of a timer it seemed more logical to use CADisplayLink. A quick and dirty proof of concept might look something like this:
import UIKit
import AVFoundation

final class ViewRecorder: NSObject {

    // The array of screenshot images that go become the video
    var images = [UIImage]()

    // Let's hook into when the screen will be refreshed
    var displayLink: CADisplayLink?

    // Called when we're done writing the video
    var completion: ((URL?) -> Void)?

    // The view we're actively recording
    var sourceView: UIView?

    // Called to start the recording with the view to be recorded and completion closure
    func startRecording(_ view: UIView, completion: @escaping (URL?) -> Void) {
        self.completion = completion
        self.sourceView = view
        displayLink = CADisplayLink(target: self, selector: #selector(tick))
        displayLink?.add(to: RunLoop.main, forMode: .common)
    }

    // Called to stop recording and kick off writing of asset
    func stop() {
        displayLink?.invalidate()
        displayLink = nil
        writeToVideo()
    }

    // Called every screen refresh to capture current visual state of the view
    @objc private func tick(_ displayLink: CADisplayLink) {
        let render = UIGraphicsImageRenderer(size: sourceView?.bounds.size ?? .zero)
        let image = render.image { (ctx) in
            // Important to capture the presentation layer of the view for animation to be recorded
            sourceView?.layer.presentation()?.render(in: ctx.cgContext)
        }
        images.append(image)
    }

    // Would contain code for async writing of video
    private func writeToVideo() {
        // Setup AVAsset pipeline and write to video and call completion...
    }
}
I found an Objective-C library, Glimpse, that adopted this approach and helped with the video writing pipeline as well as the API ergonomics. This worked well for short, not very complicated or performance intensive, animations. However, certain Core Animation layers and layer animations where simply not shown in the video. For example, a view with a CAEmitterLayer did not appear at all, while an animation involving a CAReplicatorLayer only captured the initial state and not the animation, which brings us to the second technique.
The second technique, was to use AVFoundation's AVVideoCompositionCoreAnimationTool to composite Core Animations with a video. AVVideoCompositionCoreAnimationTool will let you composite just about any layer animation on top of a video. For the full details of how to do this, I'll refer you to this Ray Wenderlich tutorial that can explain much better than I can how to use AVVideoCompositionCoreAnimationTool. However, there are a few things you should keep in mind when using AV Core Animation composition. First is that videos are measured in pixels not points like UIKit elements. There are times when you'll likely need to know the scale of the device you're running on. You can find this on an instance of UIScreen. Another thing to keep in mind is that the origin for layers composited with the AVVideoCompositionCoreAnimationTool is the lower left, not the upper right like UIKit. Lastly, any animations that you run while compositing need to have beginTime equal to AVCoreAnimationBeginTimeAtZero and should have isRemovedOnCompletion set to false.
As I'm sure you've figured at by now, to get an effective recording of a UIView you'll likely need to use a hybrid of these two approaches: simple snapshotting for basic view animations and interactions with layer compositing to capture layer animation and effects. Which brings us to FlipBook.
FlipBook
While writing the code for generating video assets from a view and view animations, I thought this could be helpful to myself and others. Wanting a way to reuse this code and offer it as an open-source tool, I decided to bundle this code up as a swift package. Introducing FlipBook! With FlipBook, it's easy to record a view, composite it with layer animations, and write it to an asset. And with Xcode 11.0, it's incredibly easy to incorporate swift packages as a dependency of a project.
The basis of FlipBook is the ability to convert an array of images to one of three types of assets: a video, a Live Photo, or an animated gif. Add on top of that a mechanism for capturing snapshots of a view overtime and a middleware process that allows layer animations to be composited over a video, and you have a suite of features for view recording. The main class of the FlipBook module is perhaps unsurprisingly FlipBook where you can set the type of asset you want to generate, the preferred frame rate of capture, even whether to use ReplayKit. The two main methods for kicking off an asset generation process are:
public func startRecording(_ view: View, compositionAnimation: ((CALayer) -> Void)? = nil, progress: ((CGFloat) -> Void)? = nil, completion: @escaping (ResultFlipBookAssetWriter.Asset, Error>) -> Void)
and
public func makeAsset(from images: [Image], compositionAnimation: ((CALayer) -> Void)? = nil, progress: ((CGFloat) -> Void)? = nil, completion: @escaping (ResultFlipBookAssetWriter.Asset, Error>) -> Void)
A simple example would look like this:
import UIKit
import FlipBook

class ViewController: UIViewController {
    // Hold a refrence to `flipBook` otherwise it will go out of scope
    let flipBook = FlipBook()
    @IBOutlet weak var myAnimatingView: UIView!

    override func viewDidLoad() {
        super.viewDidLoad()

        // Set the assetType we want to create
        flipBook.assetType = .video
    }

    override func viewDidAppear(animated: Bool) {
        super.viewDidAppear(animated: animated)

        // Start recording when we appear, here we're recording the root view of `ViewController` but could record any arbitary view
        flipBook.startRecording(view) { [weak self] result in

            // Switch on result
            switch result {
            case .success(let asset):
                // Switch on the asset that's returned
                // Do something with the video URL
                print(asset.assetURL?.absoluteString ?? "No assetURL")
            case .failure(let error):
                // Handle error in recording
                print(error)
            }
        }

        // In this example we want to record some animation, so after we start recording we kick off the animation
        animateMyAnimatingView {
            // The animation is done so stop recording
            self.flipBook.stop()
        }
    }

    private func animateMyAnimatingView(_ completion: () -> Void) { ... }
}
Supposing animateMyAnimatingView animated a red view's frame and corner radius the video asset might look something like:
For a full gallery of view recording assets visit the FlipBook website.
Lastly, it's possible to do asset convertion completely seperate from view recording. For example, you can use FlipBookGIFWriter to get the images and frame rate of a gif and then use FlipBook to convert them into a Live Photo.

Similarly, you can use FlipBookCoreAnimationVideoEditor to composite layer animations on top of a video and then convert that video into a Live Photo.
You can even user FlipBookAssetWriter to get the frames out of a video and use FlipBook to turn those into an animated gif. I hope you can see there's a great deal of potential when using FlipBook to create assets that your users will find delightful. And I hope you can see that while recording a view is not the most straightforward thing, there are options for recording animations and interactions.
You can find the complete source code on github. Feel free to send me feedback.